When you install new cabinets in your home, unfinished cabinets are a great option if you want to conserve cost. You can buy unfinished cabinets at your local large home improvement stores like Lowe’s and Home Depot. Even more, painting the cabinets yourself is also a very cost effective way to complete your project.
It is necessary to prime unfinished cabinets before you paint them. Raw wood will absorb a lot of paint and would require many coats to get the right amount of coverage. Primer will seal the wood as a base layer so that this doesn’t happen when you paint and gives nice smooth coverage.
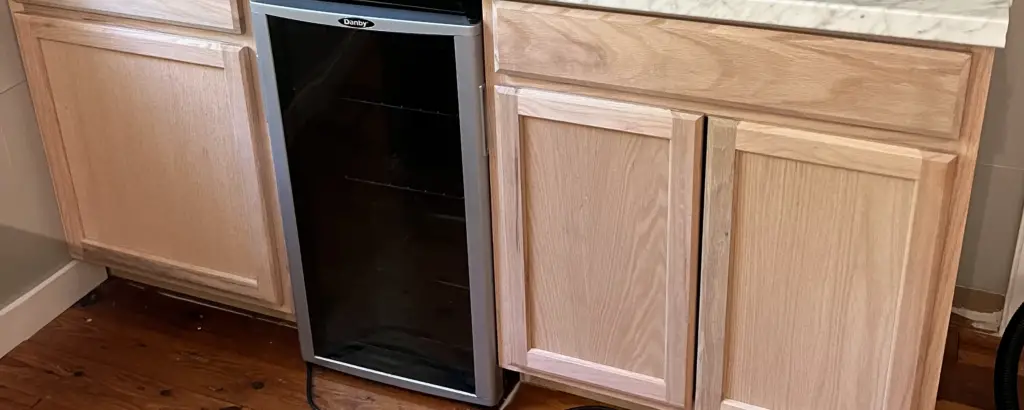
Prepping unfinished cabinets for painting
We recently installed unfinished cabinets for our new wet bar project and went to our local Sherwin Williams to ask their advice on how to prep and paint them the proper way. The paint specialist recommended that we start by using a fine sandpaper to lightly sand all over and paint the cabinet with a tinted primer (more on this below) before we painted our unfinished cabinets.
Below are all the steps we took to prep and paint our unfinished cabinets:
- Sanding. Our Sherwin Williams specialist first recommended that we lightly sand the cabinets all over because there are always some places that need to be smoothed out on unfinished cabinets. We used fine sandpaper to make sure that everything was really smooth before we primed.
- Wipe down with a dry rag. After sanding the cabinets, we wiped down the cabinets with a dry rag to get all the wood dust off the surface. Use a vacuum to sweep up and remaining dust in and around the cabinets so that it does not get into your paint can or on your brush.
- Remove doors and drawers. We removed the cabinet doors and drawers before painting so that we could paint around the hinges and access the main cabinet edges.
- Prime the cabinets. We primed the cabinet with our tinted primer paint and this provided great coverage and a smooth surface for our final color.
- Allow the primer to dry. Per the instructions on the can of primer, we allowed it to dry for 1 hour to the touch before we began to paint.
- Paint the cabinets. After our primer was dry, we began to paint our final color. You will notice right away that even with a darker color that a second coat of paint will be necessary.
- Allow proper dry time. We allowed the first coat to dry for 4 hours to the touch before applying the second coat of paint.
- Apply the final coat. After allowing our cabinets to dry thoroughly we applied a final coat which provided the coverage that we were looking for.
- Allow the paint to dry thoroughly. The dry time for your paint may vary depending on what you use. Our dry time was 4 hours to the touch, but we want to be sure not to mess up our beautiful new paint job, so we allowed everything to dry for 24-48 before putting things back together.
- Reattach cabinet doors. After allowing the paint to completely dry, we reattached all the cabinet doors and replaced the drawers. (And then of course realized we forgot to paint the back of one of the cabinets, so that one came right back off! Oops!). Don’t forget to allow each side to dry and then flip to pain the opposite side.
What paint to use on unfinished cabinets
As we were planning our new wet bar project, we chose the color for our unfinished cabinets but were unsure which type of paint and primer to use for our project.
The paint specialist at Sherwin Williams recommended their Emerald line paint which he said would provide durability and a smooth, beautiful finish with great coverage. We chose Sherwin Williams Iron Ore which was the perfect shade of a dark charcoal gray.
Their Emerald line is an acrylic latex paint, so you can choose any brand that you would like, but this is the type of paint that we would recommend using on your unfinished cabinets.
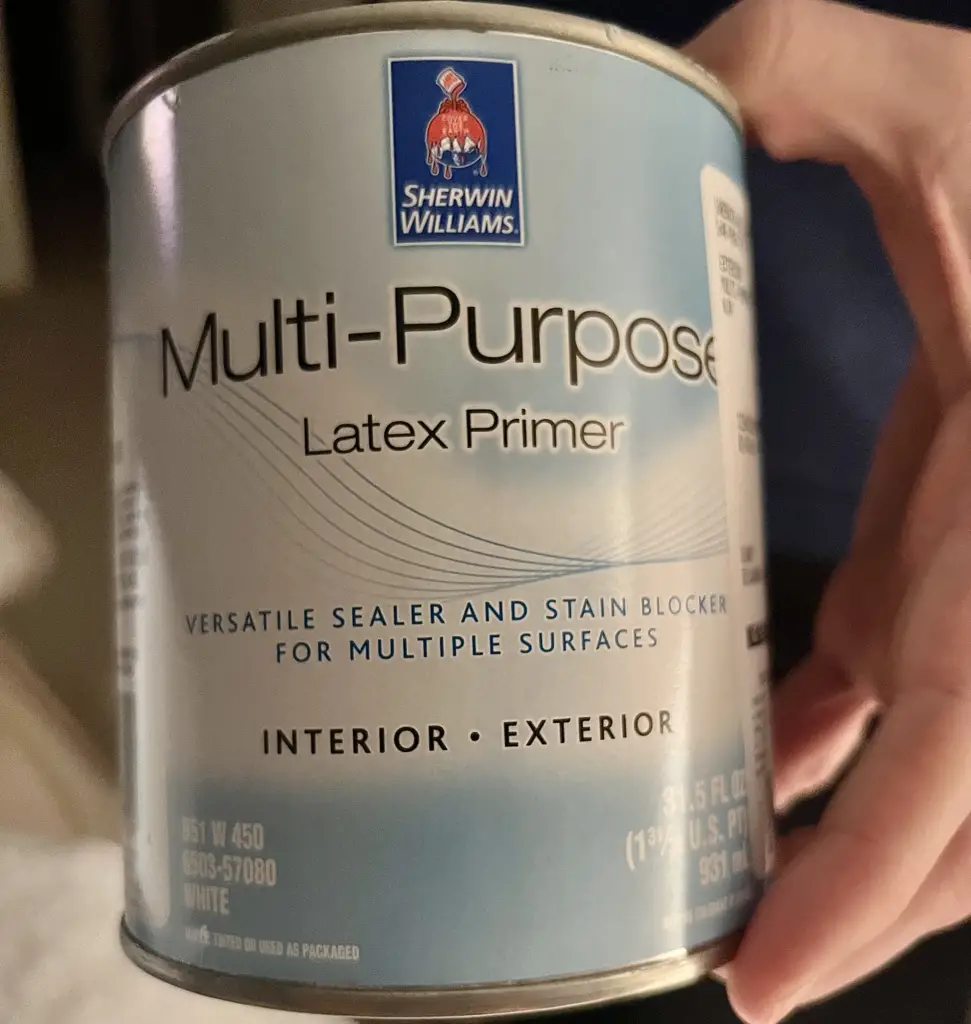
We used Sherwin Williams multi-purpose latex primer which would act as a sealant and stain blocker and can be used on multiple types of surfaces. Because we were going with a darker color on unfinished wood, he tinted our primer a light gray so that it would be closer to our final color. We would highly suggest getting your primer tinted if you are going to be painting a darker color. This prevented us from needing to do a third coat of paint on our cabinets.
We used Sherwin Williams multi-purpose latex primer which would act as a sealant and stain blocker and can be used on multiple types of surfaces. Because we were going with a darker color on unfinished wood, he tinted our primer a light gray so that it would be closer to our final color. We would highly suggest getting your primer tinted if you are going to be painting a darker color. This prevented us from needing to do a third coat of paint on our cabinets.
Adding hardware to unfinished cabinets
Quick Tip: If you are going to be adding hardware to your cabinets, we would recommend drilling your holes before you paint. By doing this you avoid messing up your freshly painted cabinets when drilling and measuring for your holes.
Wait for the cabinets to fully dry before replacing hardware. Again, we waited 24-48 hours before reattaching cabinets and adding hardware to be on the safe side.
Final thoughts on priming unfinished cabinets
Priming unfinished cabinets are absolutely necessary for two main reasons. One is that primer will help to protect the wood especially if it will be exposed to any water splash or other liquids (in a kitchen for example.)
The second reason is that the wood will soak up a ton of paint before you would actually get any decent coverage on your cabinets. We did a test patch and were amazed at how much paint it soaked up.
Cabinets are not something that you want to cut corners on, especially when it comes to unfinished cabinets. Even if they are in an area where they won’t get wet, they still need to be durable and stand up to the opening and closing of the doors and drawers. Primer provides that extra layer of protection as a base layer and allows for good adhesion and sticking of the final coats of paint.
Leftover paint? Head over to our article about storing paint!
We also have a great way to store paint rollers while you are waiting to apply the second coat!