Painting is a great way to refresh the look of a room and give it a new lease of life. However, before you start painting, it is important to make sure that you start with clean walls. Cleaning your walls before painting not only helps the paint adhere better, but it also ensures that any dirt, dust, or grime is removed, resulting in a smoother and more professional-looking finish.
In this guide, we’ll walk you through the steps on how to clean your walls (like the pros) before painting, so you can achieve the best results possible. Whether you’re a seasoned DIYer or a first-time painter, these tips will help you get your walls ready for a fresh coat of paint.
Supplies Needed to Clean Your Walls
To clean your walls before painting, you will need a few basic supplies.
Here’s a list of what you’ll need:
- Bucket
- Sponge or soft cloth (microfiber cloth)
- Dish soap or other mild soap
- Warm water
- Clean towels
- Magic Eraser
- Protective gloves and eyewear (optional)
- Spray Bottle (optional)
It’s important to note that some cleaning solutions may not be suitable for all types of walls, so it’s a good idea to check the manufacturer’s recommendations before cleaning. Additionally, if you’re cleaning walls with stubborn stains like mold or mildew, you may need additional cleaning supplies or even professional help to properly address the issue before painting.
How to Clean Your Walls for Painting (Step-by-Step)
- Clear the room: The first step is to remove any furniture, decor, or other items from the room, or move them to the center of the room and cover them with a drop cloth or plastic sheeting to protect them from any cleaning solutions or water splashes.
- Dust the walls: Use a soft cloth or feather duster to remove any loose dust or cobwebs from the walls, especially in the corners. I use a vacuum cleaner with attachments to get all the hard-to-reach spots. This will prevent the dust from being spread around and getting stuck in the paint.
Even if you don’t see dust, wipe down the wall anyways! You’ll be surprised at how much dust actually comes off the wall.
- Mix the cleaning solution: In a bucket, mix the soap with warm water. For a 5-gallon bucket, about 2 tablespoons of soap should be sufficient.
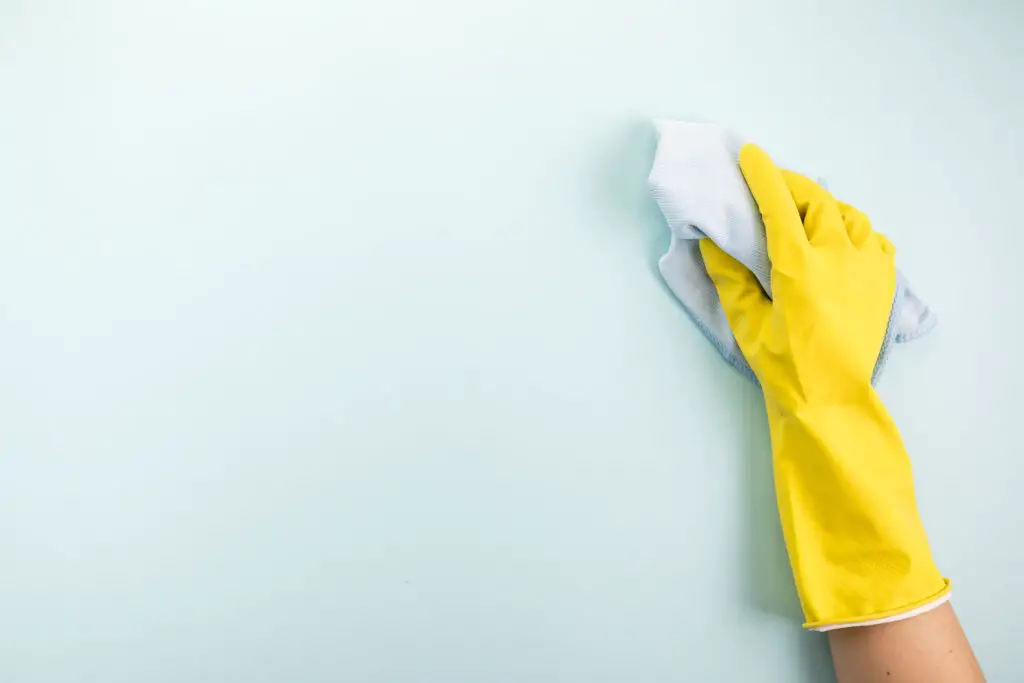
- Clean the walls: Dip a sponge or soft cloth into the soapy water, wring out excess water so that you’re left with a damp sponge, and gently wipe from the top of the wall to the bottom in a circular motion. This is the best way to keep track of which areas you’ve already cleaned.
Pay special attention to any areas with visible dirt, grime, or stains. Avoid saturating the walls with water as this can damage the wall surface or cause water damage. Rinse the sponge or cloth frequently and change the cleaning solution if it becomes too dirty.
- Rinse the walls: Using a clean sponge or damp cloth and clean water, rinse the walls thoroughly to remove any cleaning residue. Be sure to wring out excess water and avoid over-saturating the walls.
- Dry the walls: Use clean towels to dry the walls thoroughly, starting from the top and working your way down. Be sure to dry any remaining damp areas to prevent water damage or streaks in the paint.
Once you’ve completed these steps, your walls should be clean and ready for a new paint job. Be sure to allow the walls to dry completely before painting.
Trouble Spots
I find that the walls in some rooms can be a lot harder to clean than others. Bedrooms, for example, are fairly easy to wipe down quickly, but you can always count on dirty walls in the kitchen! It’s hard to avoid food and grease stains with all the cooking and eating in this room!
For your kitchen walls, you may need to use a cleaning solution that is a little stronger than a mild soap, like trisodium phosphate (TSP). To mix and test the TSP solution, follow these steps:
Mix the TSP solution
In a bucket, mix 1/2 cup of TSP with 2 gallons of warm water. Be sure to wear protective gloves and eyewear when handling TSP, as it can be a skin and eye irritant.
Test the solution
Before applying the TSP solution to the walls, test it on a small, inconspicuous area of the wall to ensure it doesn’t damage the paint or finish. Wait a few minutes to see if there’s any discoloration or damage, and if there’s no adverse reaction, it’s safe to proceed.
Repeat the steps above
You can then repeat the steps above washing the wall in circular motions, rinsing the wall with clean water and a damp cloth, and finally, drying the wall thoroughly.
The last thing you want is to be in the middle of a painting job and realize that you have to stop and remove food debris from the wall before you can continue. Professional painters never skip this important step and neither should you!
How long to wait after washing the walls to begin painting
After washing the walls, it’s important to allow them to dry completely before painting. The amount of time it takes for your walls to dry will depend on the level of air circulation in the room.
In general, it’s a good idea to wait at least 24 hours after washing your walls before painting. This will ensure that the walls are completely dry and free of any residual moisture, which could cause issues with the paint, such as bubbling or cracking.
If you’re in a hurry, you can use several fans or open windows to increase air circulation and help significantly speed up the drying process. You can also take a dry cloth and lightly wipe the surface of the wall. It’s important to make sure that the walls are completely dry to the touch before you start painting to ensure a smooth and even finish.
Precautions
Whether it’s oil-based paint or latex paint, be aware of the manufacturer’s recommendations for that type of paint when it comes to washing walls.
The finish of the paint
Whether it’s flat paint, eggshell, satin, semi-gloss or high-gloss paint has an impact on how you wash the wall and how much moisture and scrubbing it can handle.
Always test small areas
It’s a good idea to always test a small area of the wall surface to see how the paint handles the cleaning solution.
Avoid household cleaners
For tougher stains, do not be tempted to try the household cleaners you have laying around. Harsh chemicals may end up causing damage to the wall that will be hard to cover. Stick to the recommended solutions or you can even try a magic eraser for tough spots, like markers or crayon marks.
It may seem like a lot of work, but a thorough cleaning will be well worth your time in the end. A thorough cleaning will give you a smooth, clean surface for your painting project and will ensure your paint job looks just as good as the pros!