Do you have a cracked favorite mirror in your home? Don’t worry – you can easily fix it yourself with a few simple supplies and avoid those 7 years of bad luck! In this blog post, we’ll provide a comprehensive cracked mirror guide on how to fix a cracked mirror DIY-style.
By following our step-by-step instructions, you’ll be able to repair your cracked mirror quickly and easily. Plus, you won’t have to spend a fortune on hiring a professional or buying a new mirror. So, read on to learn how to fix a cracked mirror DIY!
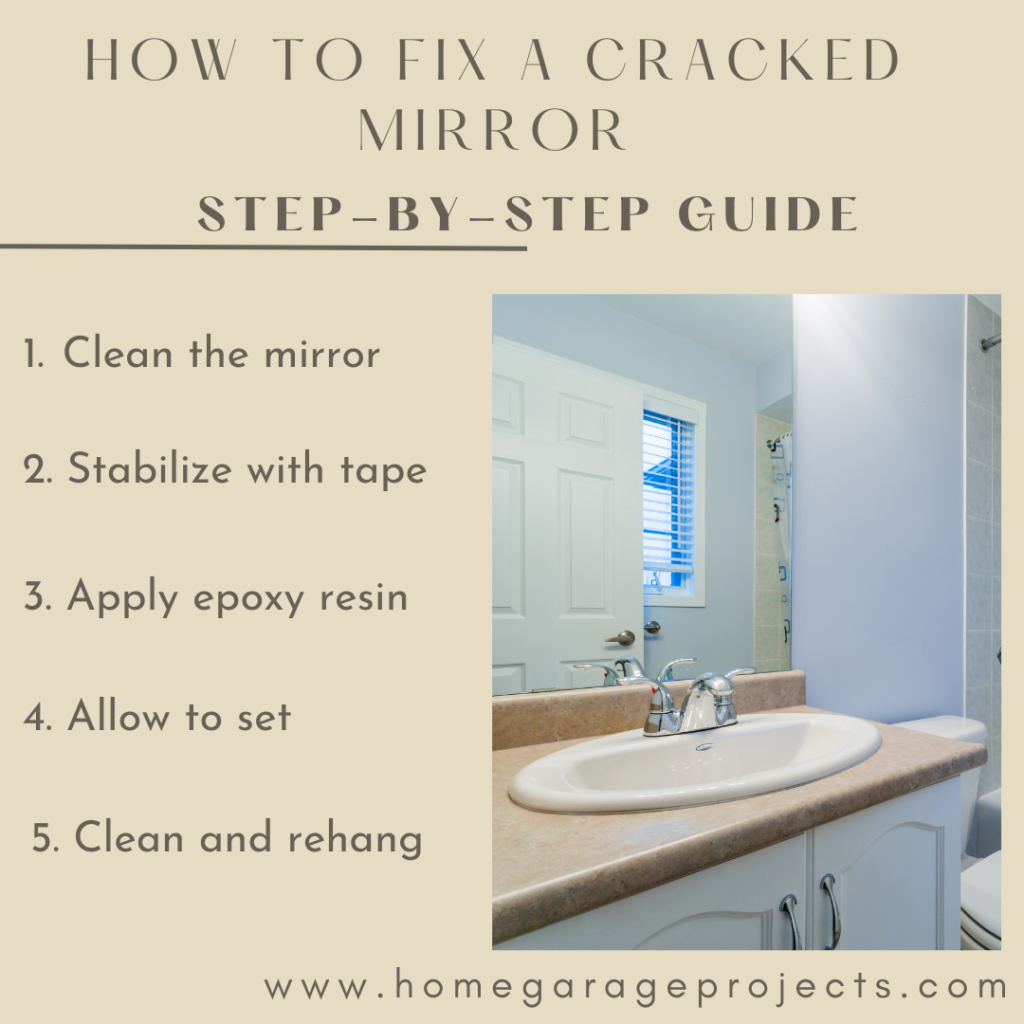
You can fix a mirror in a few easy steps that we explain in more detail below including:
- Clean the mirror
- Stabilize the crack with tape
- Apply epoxy resin
- Allow to set
- Clean and rehang
Supplies You Will Need
You will need some basic supplies to fix a cracked mirror, which is often less expensive than buying a brand new mirror. However, if you have a vintage mirror or one that is fairly expensive, it is probably cheaper to fix it yourself. In my experience, I found that it wasn’t worth buying the supplies if the mirror was a basic flat bathroom mirror. It was often better to buy a new one in this case.
However, with many of my decorative mirrors, I find that it is definitely worth fixing either because it’s not something that I can buy again or it was expensive and would cost more to replace.
If you want to fix a broken mirror, you will need a few items to complete the DIY project. These items include:
- soft clean cloth
- razor blade
- stabilizer film or clear tape
- curing film
- epoxy resin adhesive & syringe kit
- or basic windshield repair kit/mirror repair kit
It’s important to have all of the right tools ready before beginning the repair process. Additionally, it is recommended to wear protective goggles and gloves when performing this task to avoid injuries. Once you have gathered all of the necessary items, you can begin the repair process.
Step-by-Step Instructions
Fixing a broken mirror is an easy DIY task that you can do in just a few easy steps. Be sure that you have gathered the supplies above before you start.
1. Clean the cracked area – The first step is to wipe the broken pieces of glass with a soft cloth (wear thick gloves for this!). This will remove any dirt or dust particles that may be present.
2. Remove the mirror – If the mirror is mounted on the wall, you will need to remove it in order to repair it properly.
3. Reassemble – Once the broken pieces are wiped clean, reassemble them as closely to their original shape as possible. It’s important that the pieces fit snugly together without gaps.
4. Apply stabilizer film – Use clear tape or stabilizer film on the back of the mirror to hold the pieces together while you work.
5. Apply resin to cracks – Once your broken mirror pieces are in place, apply a small amount of clear epoxy resin along the edges. Make sure to use only a tiny bit of glue—too much will cause the pieces to stick together permanently and make it difficult to remove them if necessary.
6. Apply second layer of adhesive – In order to form a strong bond, especially for a large crack, it is a good idea to apply a second layer of your adhesive to the damaged area.
7. Apply curing film – This step is not required, but it is the best way to ensure that everything stays in place without having to hold it and it helps the resin to cure properly. This step would be especially important in large mirrors.
8. Keep Stabilized – To secure the pieces and help the glue set, keep the stabilizer film on the back of the mirror. It’s important not to remove the tape until the glue is completely dry.
9. Allow the resin to set – The glue needs to set for at least 24 hours before handling or cleaning the broken mirror. After it has set, you can use a razor blade, putty knife, or utility knife to very gently remove the tape or stabilizer strip from the back of the mirror or extra residue on the surface of the mirror.
10. Clean the mirror and hang – Finally, you can clean the entire mirror with glass cleaner and remove all the smudges and you are ready to rehang.
By following these simple steps, you can easily fix your broken mirror and restore it to its original condition. With just a little effort and some basic supplies, you can save yourself time and money by fixing it yourself!
Tips & Tricks
Reflective Paint Fix
If you have repaired the crack but it is still too visible, you can try using a reflective paint maker to help disguise the black spots of the crack. This is one of my favorite tricks because it works well but is also really inexpensive.
Mirror Paint
You can also use mirror-like spray paint to spray over the cracked glass and then quickly wipe the paint off of the mirror glass surrounding the crack. This can be a little bit more expensive, especially if you are only fixing a small crack.
Small Cracks
For small or minor cracks, you can often use clear nail polish to repair the crack. This is a great way to fix a small mirror that doesn’t require a lot of force to hold together.
Windshield repair kit
You can use a standard windshield repair kit from your local hardware store and it should have all the supplies you need.
Fixing a cracked mirror can be a daunting task, but with the right supplies and a bit of patience, it’s doable. By following the steps and tips outlined in this DIY guide, you can safely and successfully repair your cracked mirror. Remember to take all necessary safety precautions when handling the sharp edges of the broken glass and wear protective gear if needed. Have fun, get creative, and enjoy your freshly fixed mirror!