Repainting a front door is an easy upgrade without the expense and time involved to buy and install a brand new door. A new coat of paint can provide a quick refresh if you aren’t happy with the current color or are just ready for a change. When we moved into our home, we weren’t crazy about the burgundy front door but decided we had other projects to tackle first. Now, five years later, we finally decided to repaint the door and after seeing how easy it was, we are wishing we had done it sooner!
You can paint a metal front door without removing it by simply removing the door handle, the deadbolt, and any other hardware on the door before painting. Place a drop cloth under the door and leave it open while you paint and dry. You can now sand, prime, and paint easily with the door open and the hardware removed.
You may want to choose a warm day as the door will need to stay open for several hours. This is especially true if your front door does not have a storm door that can remain closed during the paint job.
How to prep a metal front door for painting
Our door was a burgundy red and we wanted to paint the door black, so we weren’t sure if we needed to use a primer. We went to our local Sherwin Williams store and asked how we should prep our metal front door for repainting. The paint specialist said that we should be able to just lightly sand the door all over and then we would be ready to paint.
Here are the steps we took to prep and paint the metal door for painting:
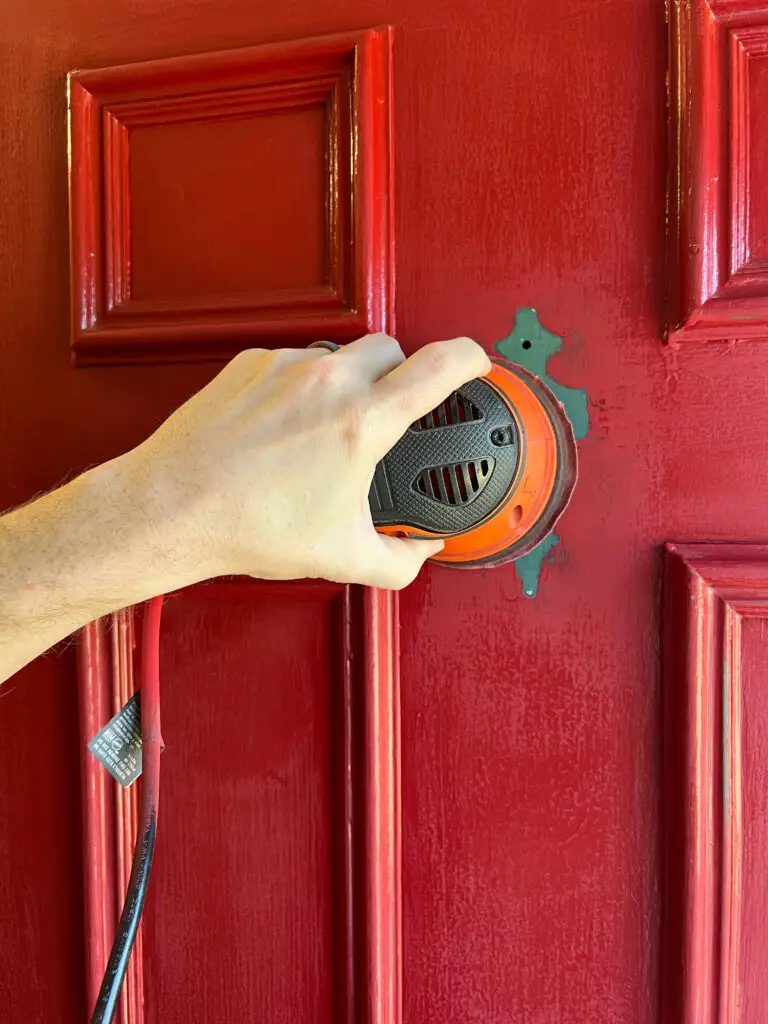
- Lightly sand. We were told that we should lightly sand the door all over and that we probably would not need a primer. We used 220 grit sandpaper to start, but we did have to use 120 grit and even 80 grit on some bigger drips of dried paint that the previous owner had left when they painted the door. We would recommend starting with around 220 grit and go down if needed.
- Wipe down the door. After we sanded the entire door, we then used our shop vac to get up all the old paint that had come off during sanding on and around the door. We then got a wet rag and wiped down the entire door thoroughly. We rinsed our rag and washed it a second time to be sure it was clean.
- Prime the door. Okay, we did say that our paint specialist told us that we did not need to prime, however, we found that our paint was not adhering well to the door. We decided to stop before it was too late and prime the door so that we didn’t end up with a mess.
- Allow the primer to dry. We allowed our primer to dry for 1 hour to the touch per the instructions from the manufacturer. Luckily we already had primer so we did not have to run back out.
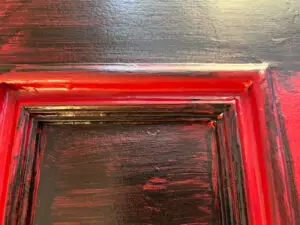
The detail was the biggest problem area when we tried to paint because we were not able to sand it really well so the paint did not adhere at all. - Paint the door. After we let the primer dry for 1 hour, it was time for the paint! We started by testing a small area on the detail of the door since it was the issue and the paint went on very smoothly and with great coverage after being primed. Success!
We painted two coats of paint to get full coverage on the door and the next day we went back and touched up a few minor areas just because we were being super picky. - Allow the paint to dry. We let the paint dry for 4 hours to the touch in between coats of paint. We would recommend starting in the morning so that you have plenty of dry time between coats and after the last coat of paint. You’ll probably want to be able to shut your door at night!
- Replace hardware. After letting the final coat dry for 4 hours, we replaced all of our hardware and the project was complete!
What kind of paint do you use on a metal front door?
As we mentioned, we did end up priming the door before painting. We used Benjamin Moore Muresco as our primer (because we already had leftover at home) and were careful to paint all of the detail on the door really well. This primer worked really well and provided great coverage and adhesion for the final coat.
Our Sherwin Williams paint specialist recommended that we use their Emerald line which can be used for interior or exterior projects. He explained that this paint would provide great durability, would be easy to clean, and would provide a really nice finish to the door.
We used 1 quart of paint and only used half the can for two coats on ONE side of the door. The interior side of our door is white so only one side needed to be painted.
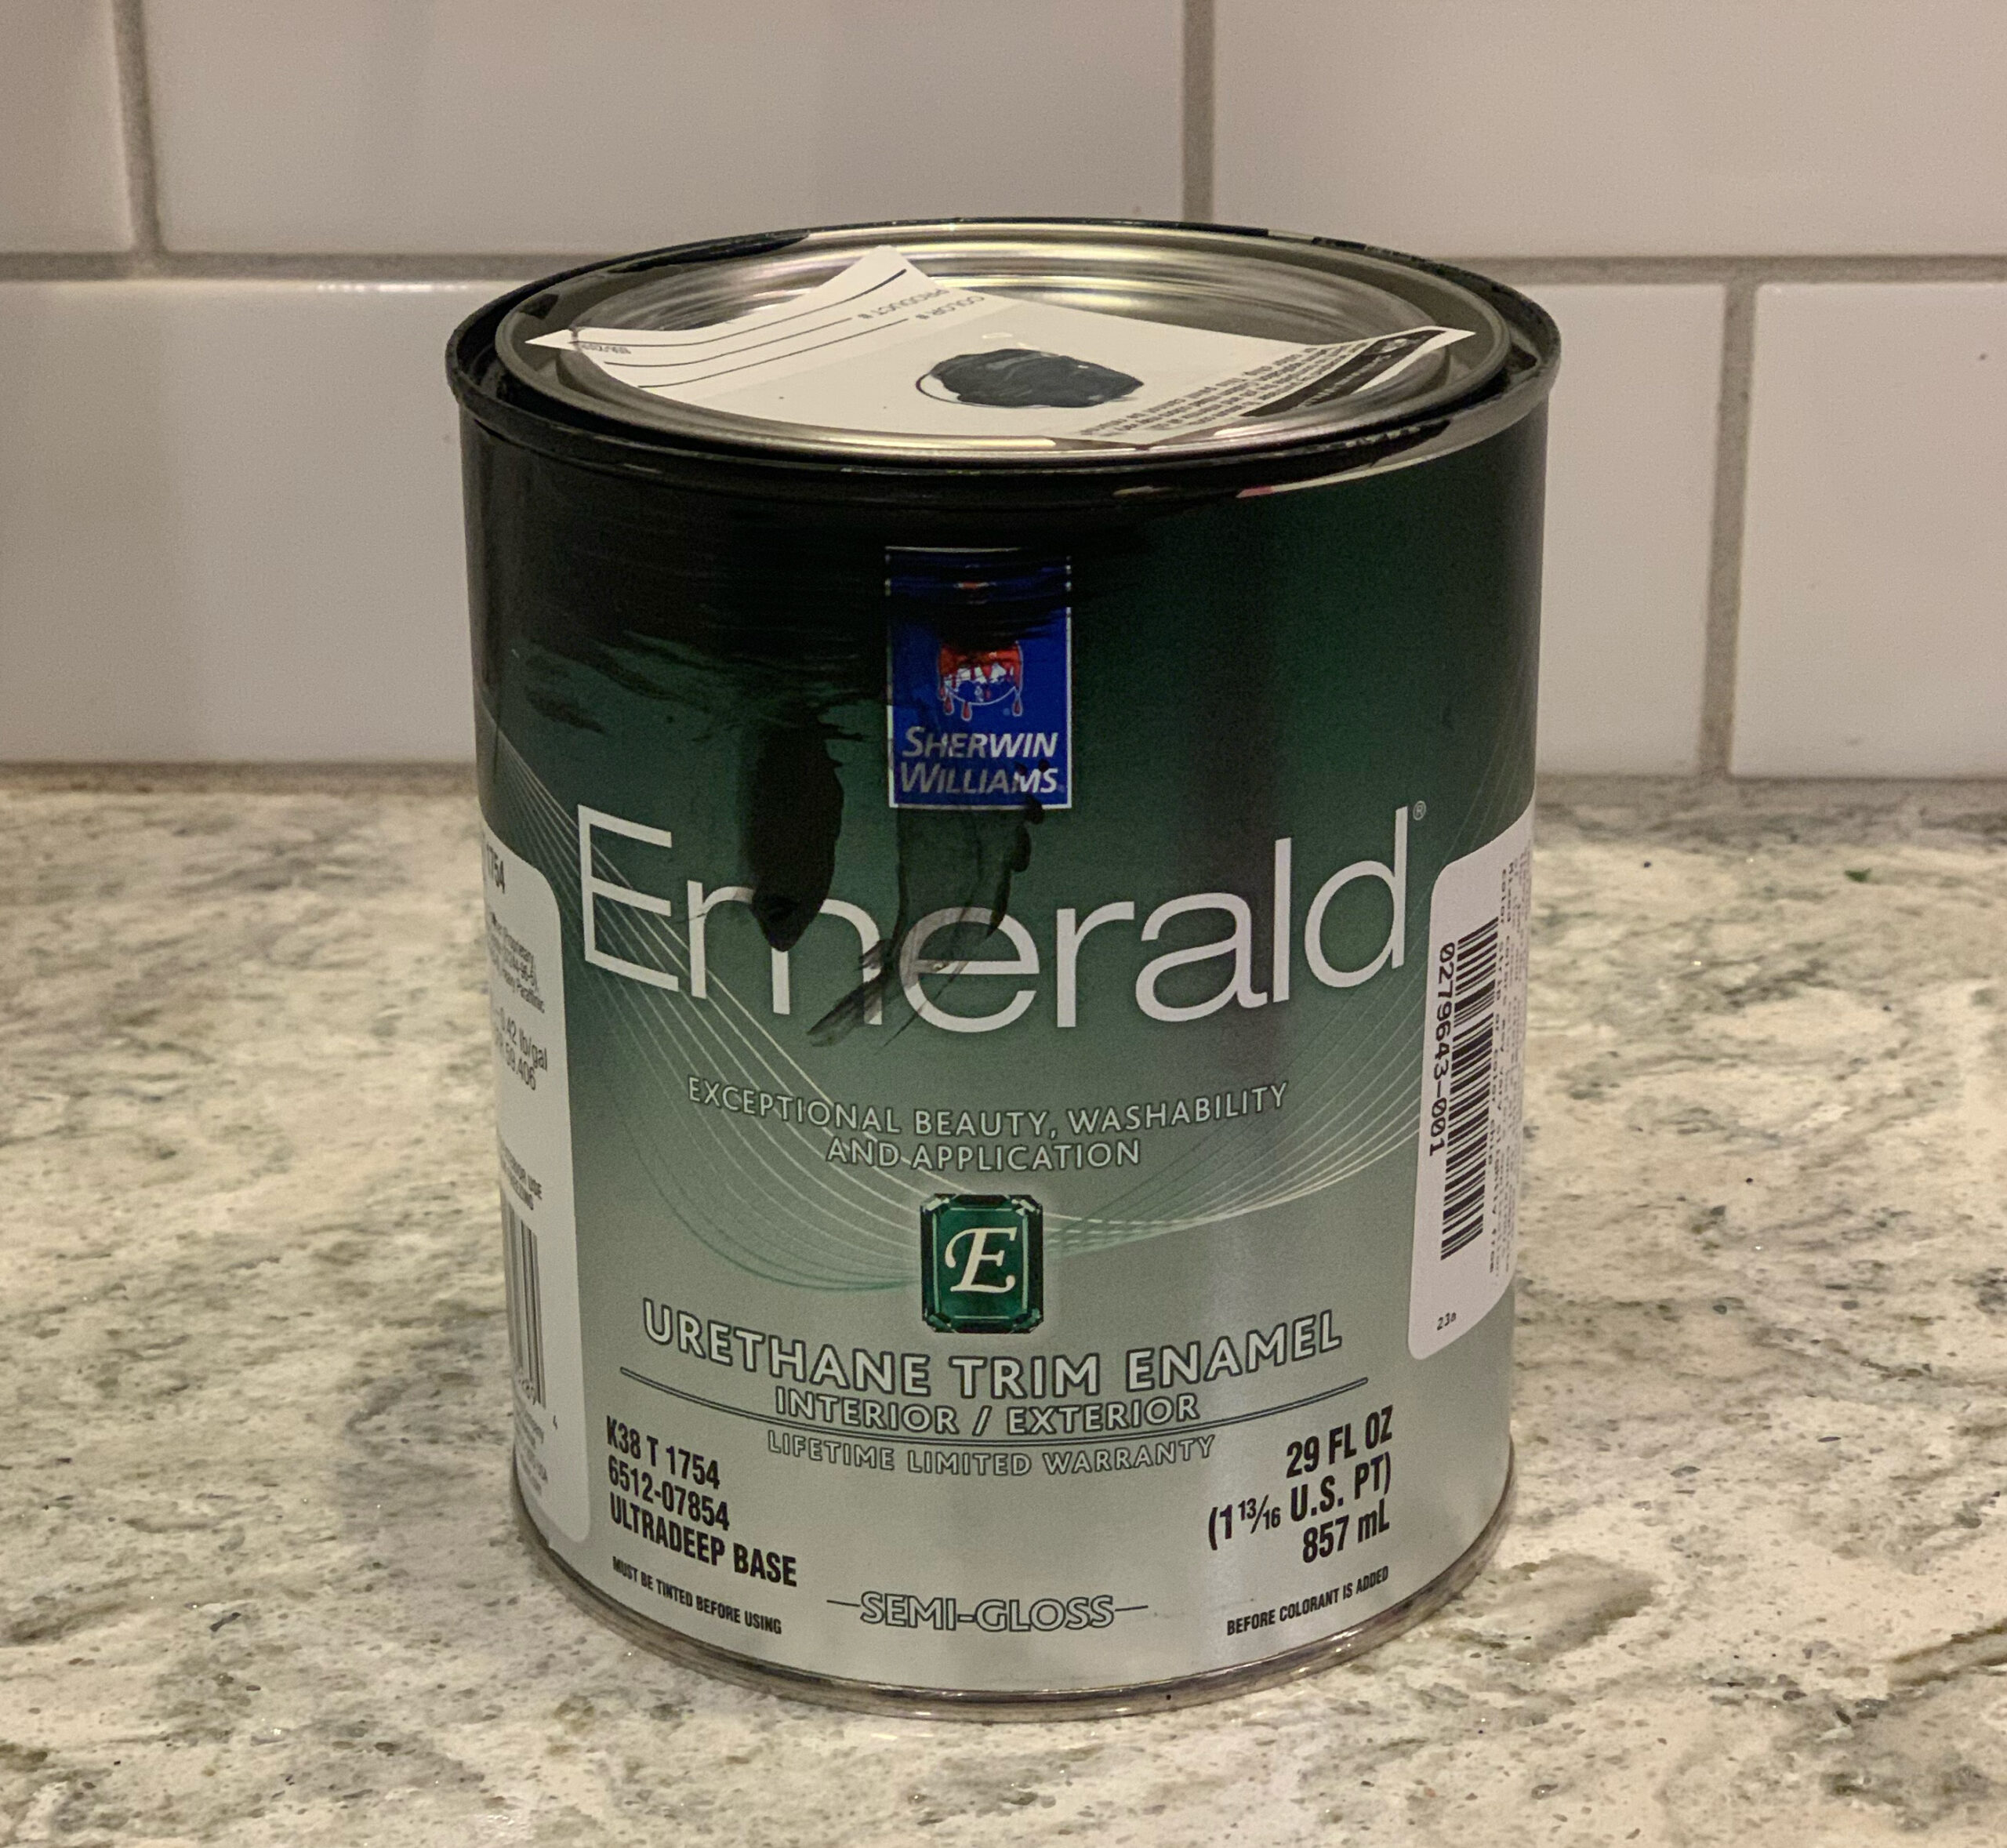
We chose Sherwin Williams Tricorn Black as our paint color after we read that this was the truest black without any undertones, meaning that it will look like true black regardless of the lighting on it. We compared it with Sherwin Williams Iron Ore that we had used on cabinets just for contrast and also looked at the shade Black Magic but Tricorn Black was the winner after very brief consideration.

Paint the metal front door without removing it!
We would absolutely recommend painting your metal front door without removing it! It was really no hassle at all to have the door attached and actually made the job much quicker and easier. We did not run into any issues at all having the door attached while we painted.
You will need to be mindful if you have children or pets and keep them out of the area so that they don’t accidentally brush up against it while it’s drying. Other than that we found it easier to paint with the door on than to remove it.
To paint a metal front door or not?
Overall, we thought this project was very simple and easy to accomplish in one day. As long as you get started early enough to allow for dry time, your door should be dry and ready by bedtime! The best part is we needed less than 1 quart of paint for the entire job, which made the cost of this project very low!